Although this is primarily a knitting blog, I rarely feel moved to get down to the technical aspects of the craft. This time, though, I shared a photo of the throw on the Cables group on Ravelry, and there may be some interest in how it is done.

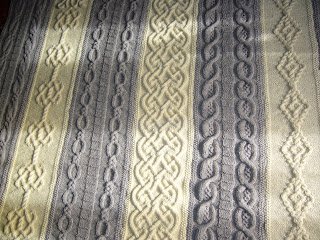
The beauty of this kind of project is that it is very forgiving: it does not have to fit anyone or be of a set size. However, my throws go on the back of a sofa, for occasional use as blankets, so they do need to be big enough to serve that purpose. This comes down to nine strips, each about forty stitches wide and roughly forty-three inches long.
I used Aran yarn for these, but that covers a whole range of types of yarn in actual fact. On my Cromarty throw, the cream stripes were knitted from a cone of Aran yarn. I used this doubled to match the weight of the branded duck-egg blue yarn. My preference is always to use up what I have to hand. Because the throw will not be worn next to the skin, a budget Aran yarn in a 400 gm ball would be fine, but it should have at least some wool in it to give it warmth. Each strip took about 100 gms of yarn, so you would need about two large balls.
 So then, the pattern sources. I'm a big fan of Alice Starmore and own several of her books: "Celtic Knitting", "Fishermen's Sweaters", "Sweaters for Men" and, more recently, "Aran Knitting". Charts of the separate cables are found in all of these and can be simply repurposed. This most recent throw uses only patterns from Barbara Walker's "Third Treasury of Knitting Patterns". Sometimes I photocopied the chart so that I could carry the project along.
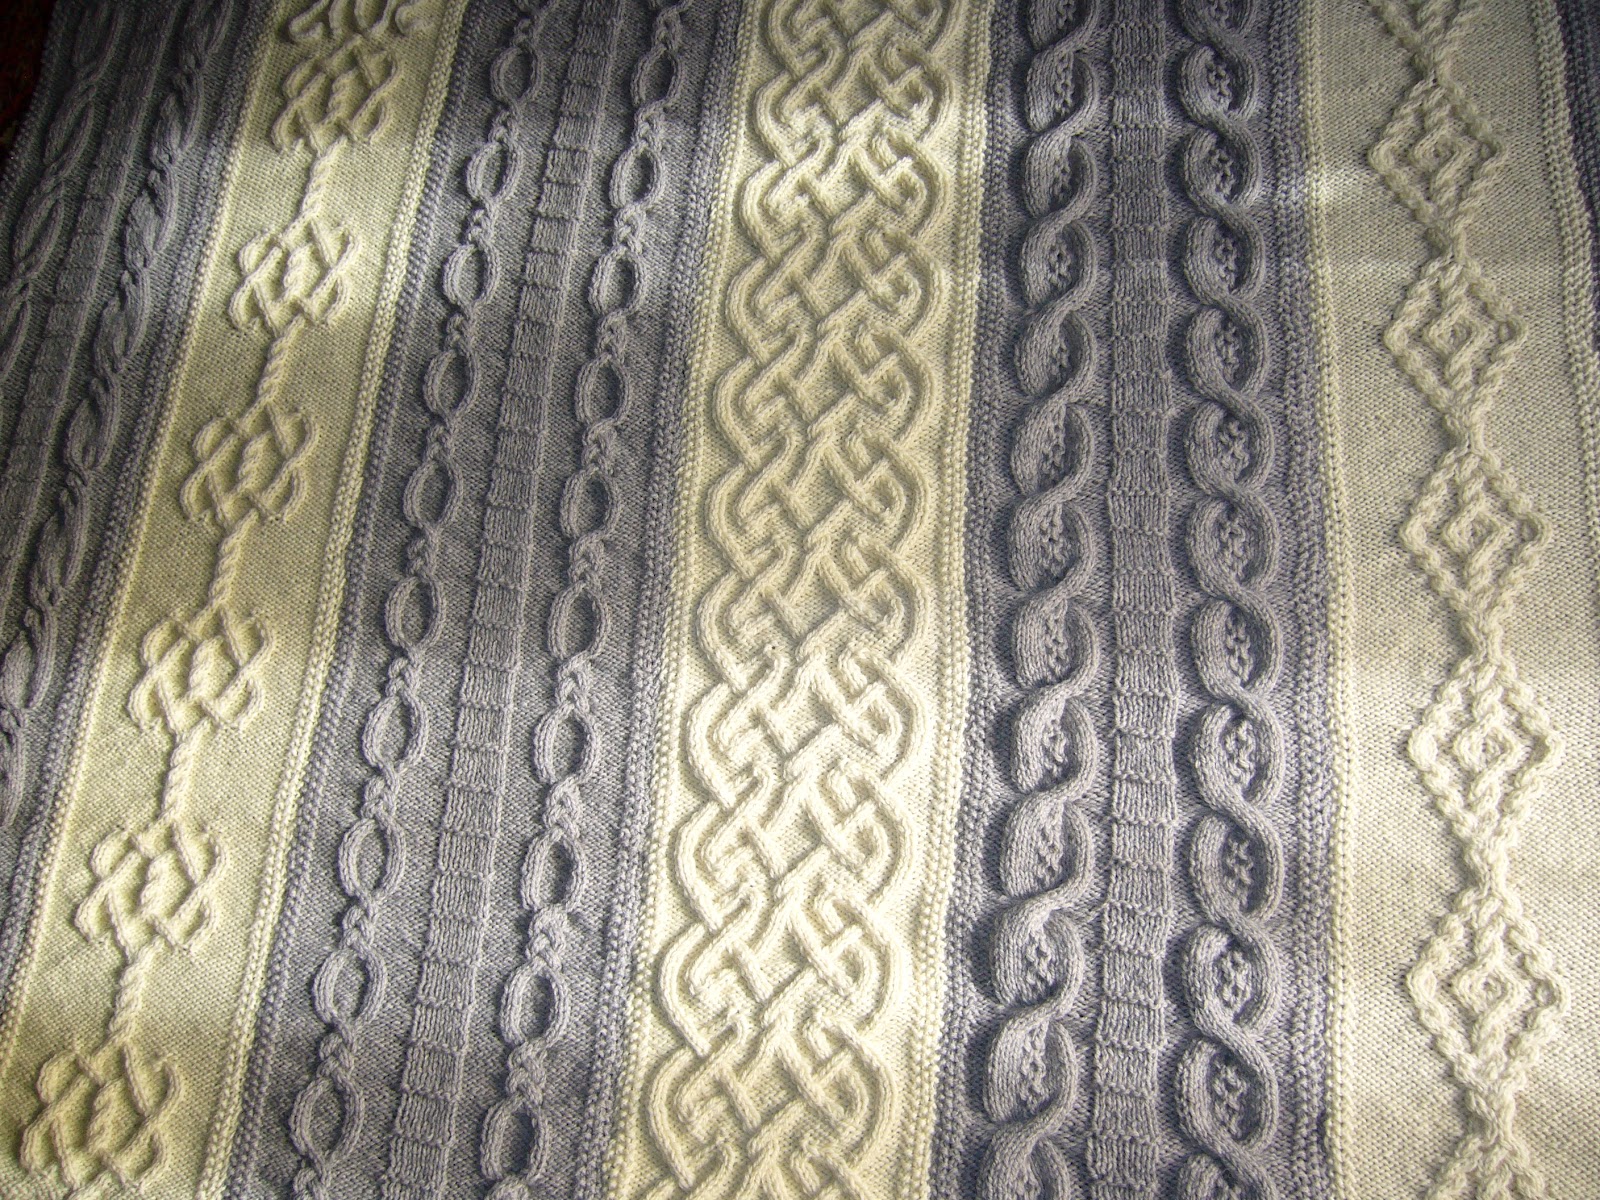
Choosing the patterns is the easy bit - at least to start with. The chart will say how many stitches the pattern takes eg twenty-four. The strip has three border stitches at each side, and I made my strips roughly forty stitches wide = So that's three border stitches, five reverse stocking stitch (purl), cable panel, five reverse stocking stitch and three border stitches again.
Start by knitting three rows of moss stitch. Because cable patterns pull in, cast on fewer stitches eg 36 and increase in the middle of the row to allow the cable more room. When you have about 42 inches complete the strip with three rows of moss stitch. Start these three rows by decreasing in the middle of the row to take out the extra which the cable needed.

As you choose the patterns for your nine strips you might want to look for designs which complement each other, or look broadly similar to give symmetry to your throw. On my Cromarty throw I used the same pattern on all the cream strips. On the Taupe throw I used different kinds of cables. I can't tell you how to make an even number of repeats in the strip, because that was just luck,or fudging after the event, and in some cases I added extra edge stitches to add length.


The beauty of this kind of project is that it is very forgiving: it does not have to fit anyone or be of a set size. However, my throws go on the back of a sofa, for occasional use as blankets, so they do need to be big enough to serve that purpose. This comes down to nine strips, each about forty stitches wide and roughly forty-three inches long.
I used Aran yarn for these, but that covers a whole range of types of yarn in actual fact. On my Cromarty throw, the cream stripes were knitted from a cone of Aran yarn. I used this doubled to match the weight of the branded duck-egg blue yarn. My preference is always to use up what I have to hand. Because the throw will not be worn next to the skin, a budget Aran yarn in a 400 gm ball would be fine, but it should have at least some wool in it to give it warmth. Each strip took about 100 gms of yarn, so you would need about two large balls.

Choosing the patterns is the easy bit - at least to start with. The chart will say how many stitches the pattern takes eg twenty-four. The strip has three border stitches at each side, and I made my strips roughly forty stitches wide = So that's three border stitches, five reverse stocking stitch (purl), cable panel, five reverse stocking stitch and three border stitches again.
Start by knitting three rows of moss stitch. Because cable patterns pull in, cast on fewer stitches eg 36 and increase in the middle of the row to allow the cable more room. When you have about 42 inches complete the strip with three rows of moss stitch. Start these three rows by decreasing in the middle of the row to take out the extra which the cable needed.

As you choose the patterns for your nine strips you might want to look for designs which complement each other, or look broadly similar to give symmetry to your throw. On my Cromarty throw I used the same pattern on all the cream strips. On the Taupe throw I used different kinds of cables. I can't tell you how to make an even number of repeats in the strip, because that was just luck,or fudging after the event, and in some cases I added extra edge stitches to add length.

.JPG)
2 comments:
This is exquisite. I commend your ability.
Thank you! These notes will be very helpful to those of us who might like to try something similar.
Post a Comment